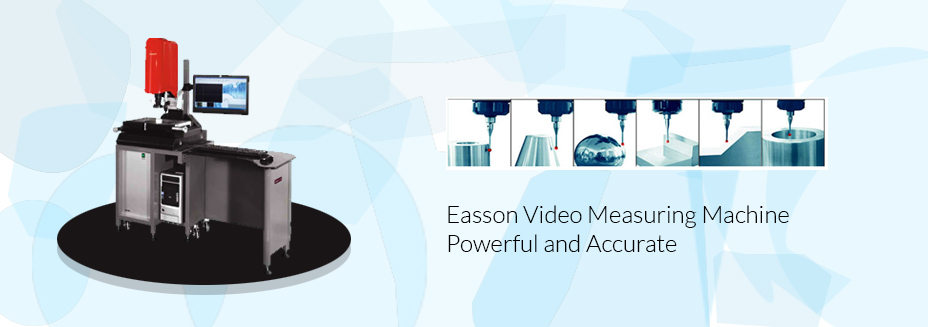
C Series Low cost Manual VMM With Powerful Software
Easson C-Series vision measurement machine has a user-friendly operational interface and a powerful software. The image is with a digital
1/3″ CCD camera and ultra low deformation high precision optional lens. In addition the high precision working table and optical scales can ensure a precision and clear image for measuring and inspection. We have a 10X-250X magnification in the VMM, together with the powerful software, the measuring efficiency will be much higher than a normal profile projector. The chromatic CMOS system ensures a clearing image of different color and different material work piece, so we can get an outstanding outcome in the curve and tiny work piece measuring.
| Model |
C-2515 |
C-3020 |
C-4030 |
| X Y Z Measurement Travel |
250X150X150 mm |
300X200X200 mm |
400X300X250 mm |
| Overall Dimensions |
100X160X140cm |
120X72X160cm |
120X72X160cm |
| Machine Weight |
170 kg |
280 kg |
410 kg |
| Repeatability |
±2 um |
| Max Table Load |
20 kg |
| Operations Models |
Manual |
| Resolution |
0.001 |
| XYZ Measurement Precision |
(4+L/200) um |
| Source System |
Controlled by computer, 4 light source, straight under axis light source |
| Rat Structure |
00 grade granite base and mast |
| Lens |
Ultra-low distortion, can zoom in and zoom out |
| Magnification |
Optical enlarging rate 0.74-4.5x, image enlarging 40-250x |
| Computer Configuration |
1G RAM /160G HDD / 19"LCD |
| Vision System |
1/3" CCD video camera |
Easson EV series has a high capability / price ratio. Auto focus function as standard configures in this series. It uses high precision marbles as the machine base stand. High precision working table and 0.001mm resolution optical scales installed in the X,Y,Z axis increase the measuring accuracy to (3+L/200)um.
The powerful software developed by Easson allows users to output the measuring results to general CAD software such as AUTOCAD, MASTERCAM and etc… or users can directly input the DXF file to the software for comparing. The electronic system of the EV series is advanced, it uses the new multi-axial PCI counter card and light motor controlling card developed by Easson, in this way the controlling system very succinct. For more scientific application, an SPC statistical and analysis software is also
included in the software package. Users can use the software to analysis the measuring result, in order to control the error range and result of the manufacturing. All
measuring results can be output to general office software such as WORD or EXCEL. This allows users to have measurement reports export directly.
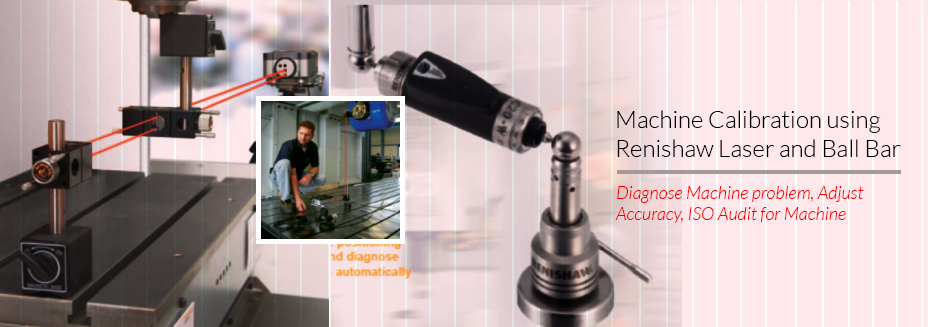
All the EV series can install the Renishaw touch probe and 3D software for 3D measurement.
|
Product parameters
|
|
Model
|
EV-2515
|
EV-3020
|
EV-4030
|
|
Measuring range (mm)
|
250x150x150
|
300x200x200
|
400x300x250
|
|
Overal dimension (cm)
|
100x60x140
|
120x72x160
|
120x72x160
|
|
Machine weight
|
170 kg
|
280 kg
|
410 kg
|
|
Repeatability
|
2μm
|
|
Maximum table load
|
25kg
|
|
Operating mode
|
XY by Manual, Z by mouse, keyboard or joystick
|
|
Resolution
|
0.001mm
|
|
X, Y, Z measurement precision
|
(3+L/200)μm
|
|
Light source system
|
software controlled adjustable 4-way surface light and straight
adjustable contour light
|
|
Structure
|
00 grade granite base and mast
|
|
Lens
|
High precision Tele-centric lens
|
|
Precision measuring head
|
English RENISHAW precision touch probe
|
|
Magnification
|
Optical enlarging rate 0.75-4.5x, image enlarging rate 25-145x
|
|
Vision System
|
High resolution CCD lens (1/2″ SONY CCD sensor & special SPC)
|
2. L-series 2D Vision Measurement Machine
Easson L-series vision measurement machine has a user-friendly operation interface and a powerful software. The instrument is with a digital CMOS camera and high precision optical lens, in addition the high precision working table and optical scales, can ensure a precision and clear image for measuring and inspection. The magnification can be 50X-290X, together with the powerful software, the measuring efficiency will be much higher than a normal profile projector. The chromatic CMOS camera ensures a clearing image for different color and different material work piece, so you can get an outstanding outcome even in the curve and tiny work piece measuring.
| Product parameters |
| Model |
L-2515 |
L-3020 |
L-4030 |
| Measuring range (mm) |
250x150x150 |
300x200x200 |
400x300x250 |
| Overal dimension (cm) |
100x60x140 |
120x72x160 |
120x72x160 |
| Machine weight |
170 kg |
280 kg |
410 kg |
| Repeatability |
2μm |
| Maximum table load |
25kg |
| Operating mode |
Manual |
| Resolution |
0.001mm |
| X, Y, Z measurement precision |
(4+L/200)μm |
| Light source system |
software controlled adjustable 4-way surface light and straight
adjustable contour light |
| Structure |
00 grade granite base and mast |
| Lens |
Ultra-low distortion, can zoom in and zoom out |
| Precision measuring head |
English RENISHAW precision touch probe |
| Magnification |
Optical enlarging rate 0.75-4.5x, image enlarging rate 50-290x |
| Vision System |
1.3 M pixel 1/2″ CMOS video camera |
SPARTAN Series is designed specially for large scale repeated measuring. It is with high speed, high efficiency and powerful function. SPARTAN series especially suits for large-amount in section which requires high speed, high efficiency and high precision. It is a necessary and important equipment within a busy QC line. SPARTAN series uses high precision 00 class granite fixed bridged structure for the bracket, along with high precision work-table, in order to ensure the stability and precision of the machine body as long as the high precision of the measuring. Three axis adopt the Panasonic AC servo motor system, recognized by the whole industry as the most reliable system.
All the moving is controlled by a high speed 32 bit DSP controller in order to ensure a reliable high-speed measurement.The software of SPARTAN series has learning function, users just have to measure the work piece manually for once, the software with record the measuring process, this can be used for the repeated measuring. User do not have to write any program and this largely simplify the measuring process.
|
Model
|
SPARTAN-3020
|
SPARTAN-4030
|
SPARTAN-4030H
|
SPARTAN-6050H
|
|
X,Y,Z Measurement Travel
|
300x200x200 (mm)
|
400x300x250 (mm)
|
400x300x250 (mm)
|
600x500x300 (mm)
|
|
Overall Dimensions
|
120x72x160 (cm)
|
70x90x150 (cm)
|
100x136x185 (cm)
|
|
Machine Weight
|
280 kg
|
410 kg
|
1700 kg
|
|
Repeatability
|
2 micron
|
|
Max Table Load
|
30kg
|
|
Operation Models
|
Automatic, CNC control, by mouse or keyboard
|
|
Resolution
|
0.001 mm
|
|
X,Y,Z Measurement Precision
|
(3+ L/200) micron
|
(3+ L/100) micron
|
(4+ L/150) micron
|
|
Source System
|
Controlled by computer, USB control 4 light source
|
|
Rat Structure
|
00 grade granite base and mast
|
|
Lens
|
High precision Tele-centric lens
|
|
Precision Measuring Head
|
English RENISHAW precision touch probe
|
|
Magnification
|
Optical enlarging rate 0.74-4.5x, image enlarging rate 20-125x
|
|
Flat Structure
|
X/Y/Z stepper motor drive system, 100mm/s
|
Japanese Panasonics motor system, 150mm/s
|
|
Vision System
|
High resolution CCD lens (1/2” SONY CCD sensor & special SPC)
|


