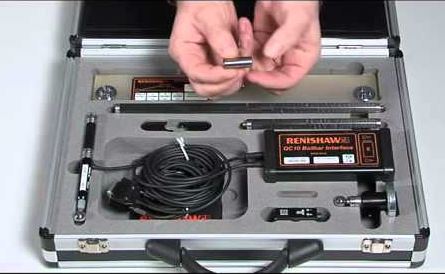
RENISHAW BLUETOOTH BALLBAR QC20-W
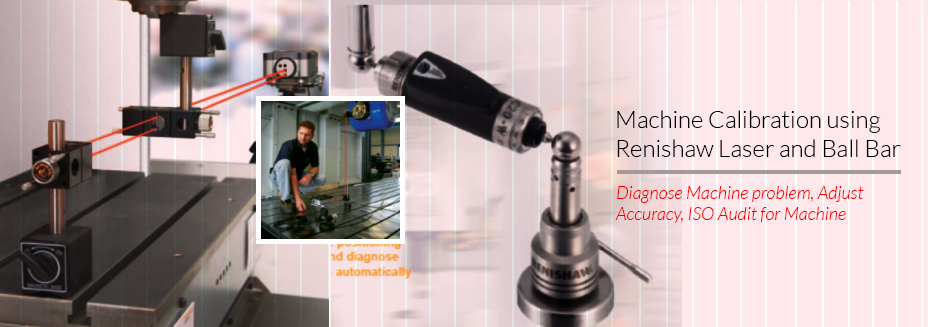
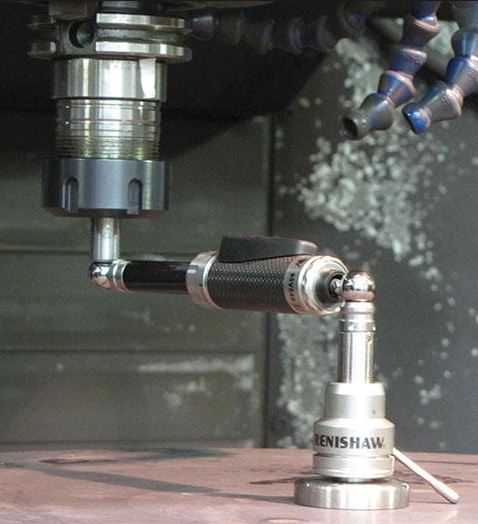
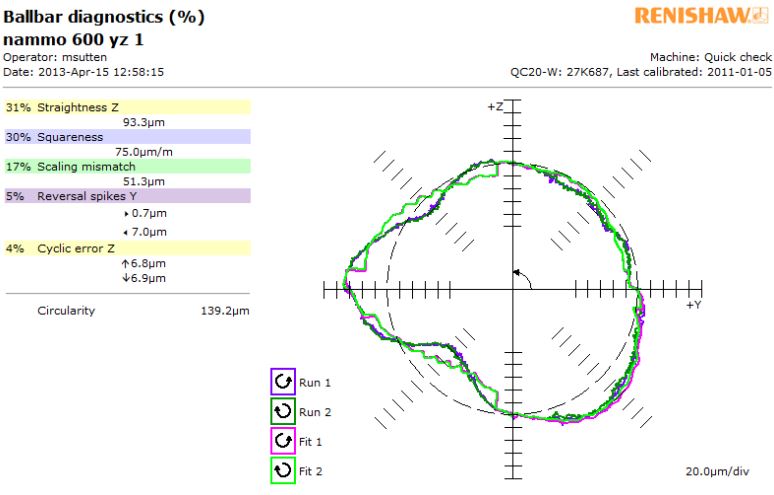
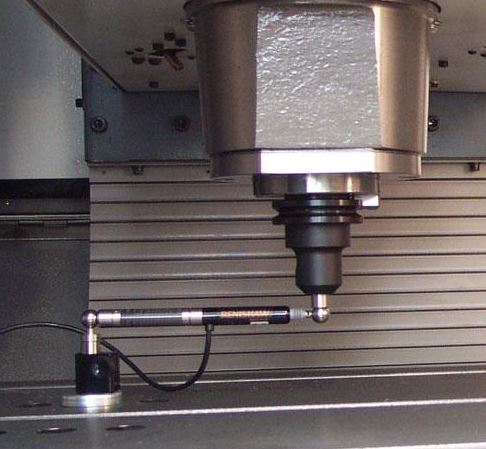
Besides the rental service,we also provide on-site Ball Bar check on your machine. The Ball Bar test is able to diagnose the machine inaccuracy at the same time ,check squareness, reversal spikes, cyclic error, scaling factor, servo mismatch and more.


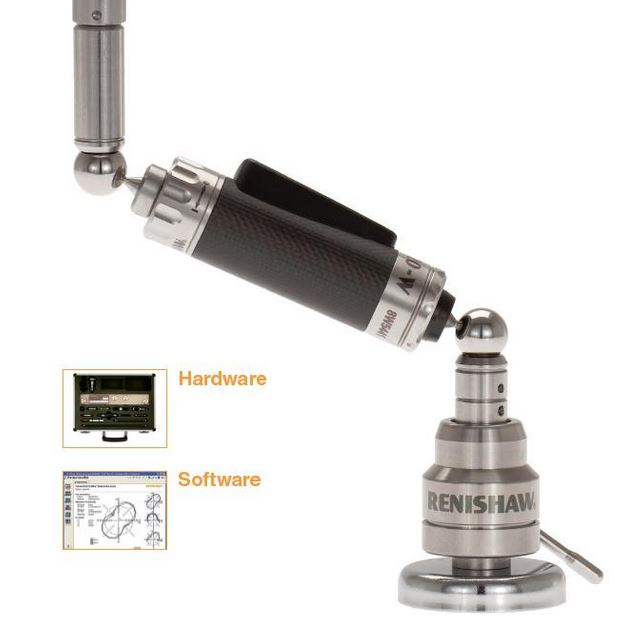
The QC20-W system draws on Renishaw’s many years of experience with ballbar testing and offers significant performance and operational benefits:
-
Bluetooth wireless technology ensures no wire handling issues, closed door operation and reduced possibility for system damage.
- New hardware and software which allows a ‘partial arc’ (220°) test. This gives you greater test flexibility including
-
- improved Z axis testing (no custom fixturing required)
- tests where axis travel is limited (typically Z axis on machining centres and X axis on lathes)
- ability to test 3 planes from a single set up, using ‘partial arc’ tests for 2 of the tests and present a ‘volumetric analysis’
- Faster data reading for enhanced analysis on small test circle and high feed rates.
-
Enhanced software includes many new features for extended testing and greater ease of use.
Bluetooth wireless technology, totally revised electronics and enhanced test capability makes the QC20-W ballbar system even simpler to use and more powerful than its QC10 predecessor.
At the same time, test processes and results are compatible for QC10 users.
| Sensor resolution |
0.1 µm |
4 µin |
| Ballbar measurement accuracy* |
± (0.7 + 0.3% L) µm |
± (27.6 + 0.3% L) µin |
| Ballbar measuring range |
±1.0 mm |
±0.04 in |
| Sensor stroke |
-1.25 mm to +1.75 mm |
-0.05 in to +0.07 in |
| Maximum sample rate |
1000 Hz |
1000 Hz |
| Data transmission range (Bluetooth, Class 2) |
10 m typical |
33 ft typical |
| Operating range |
0 °C – 40 °C |
32 °F – 104 °F |
| System case dimensions (L x W x H) |
395 mm x 300 mm x 105 mm |
15.5 in x 11.8 in x 4.1 in |
| System case weight including kit contents |
3.75 kg (approx) |
8 lb 4 oz (approx) |
* also referred to as ‘radial measurement variation’
Valid 15 °C – 25 °C (59 °F – 77 °F)
L = length over which error is measured
i.e. Specification if measuring 10 µm error on machine ±0.73 µm
Specification if measuring 100 µm error on machine ±1.00 µm
Renishaw QC10 (Predecessor of QC20-W)


MACHINE CALIBRATION SERVICE & RENTAL SERVICE.
Machine tool calibration can be performed on new machine installations to check the accuracy promised or received, it can be also performed on annual or semi-annual basis to track machines capability or performance degradation due to wear.
Leadscrew compensation files may be updated or optimized during calibration to ensure you are getting the best possible accuracy from you machine tool investment.
Not only providing on-site machine calibration services which includes the insurance of a calibration certificate demonstrating traceability to national or international standards, we also provide rental service for those in need.
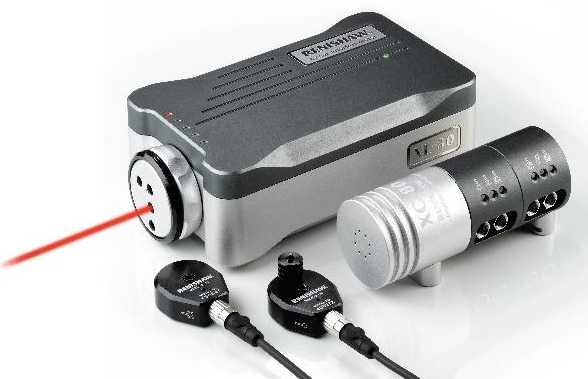
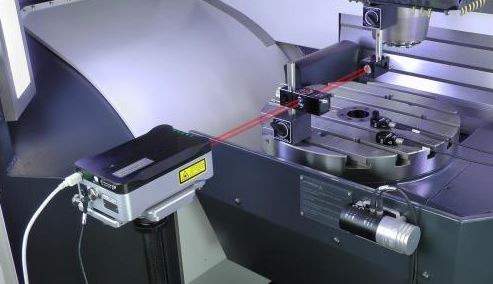
RENISHAW XL80 LASER


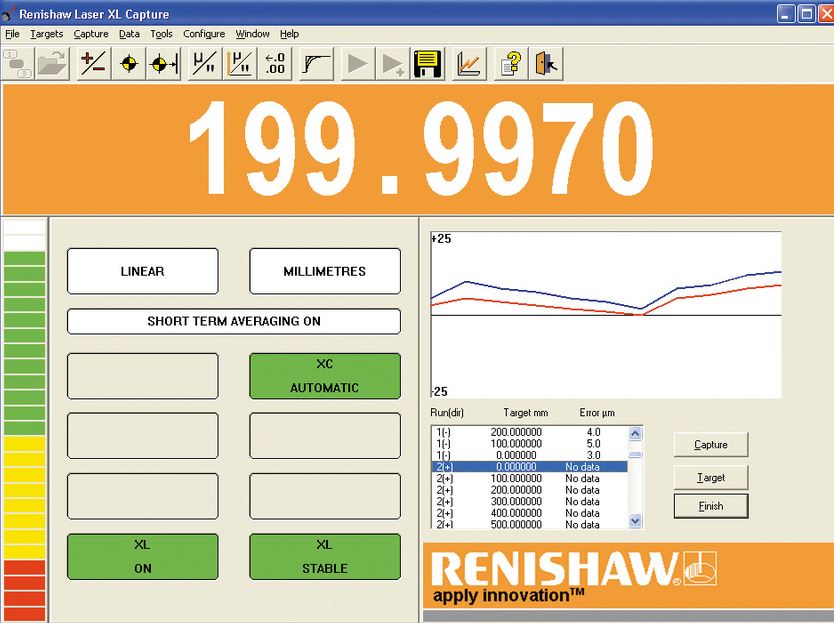
- Linear accuracy and repeatability measurements,
The laser can measure the actual displacement moved along an axis and compare it against the displacement shown by the machine’s axis encoders. The basic for error compensation of machine tool CNCs.
- Angular pitch and yaw measurements,
These are common causes of positioning errors.Even a small error at the spindle can cause a significant effect at the tool tip. Interferometric measurement is fully traceable to national standards.
- Straightness measurement,
Both horizontal and vertical straightness of motion along an axis can be measured. Straightness errors have a direct influence on machine path accuracy and are unlikely to be uniform along an axis of a machine.
- Squareness measurement,
Axes need to be square to each other as well as accurate along their length. By using a calibrated optical square and combining two straightness measurements the squareness of two axes can be calculated precisely.
- Flatness measurement,
Flatness of reference tables can be critical.This measurement enables a 3D picture of surface form to be built up.
- Rotary axes
Rotary axes are increasingly common on machine tools.The XR20-W provides for automatic data collection when used with a Renishaw laser and angular optics.
Portability and ease of use
The size of the XL-80 laser and XC-80 compensator means that a complete linear system can fit into a ‘wheelie-case’ and weighs only 12 kg. Add the tripod, in its own fabric case and you have a truly portable solution to machine metrology. Both the laser and compensator connect to your PC via USB so there is no separate interface required and no complicated set-up to worry about.
Accuracy and dynamic performance
Linear measurement accuracy is an assured ±0.5 ppm thanks to a precision stabilised laser source and accurate environmental compensation. Readings can be taken at up to 50 kHz, with a maximum linear measurement speed of 4 m/s and a linear resolution of 1 nm, even at maximum speed. All measurement options (not just linear) are based on interferometric measurements, giving confidence in the accuracy of the data recorded.


