Features
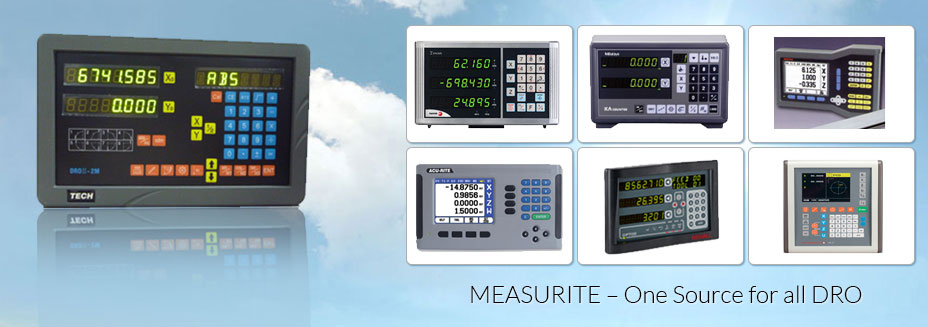
- High performance, low cost 2 or 3 axis counter
- The KA counter has both mill and lathe functions, as well as standard functions
- Connectable with AT715 electromagnetic scales and AT100 series glass scales
Technical Data: Common
Scale input ports: 2, 3
Resolution: .000005″, .00005″, .0001″, .0002″, .0005″
(0.0001mm, 0.001mm, 0.002mm, 0.005mm,
0.010mm) (changeable with parameters)
Display: 7-digit LED and a negative [-] sign
Power supply: 100V-240V AC, 50/60Hz
Mass: 1.1kg (2-axis), 1.2kg (3-axis)
Optional Accessories
938140: Touch signal probe (shank diameter: 20mm)
935094: Touch signal probe (shank diameter: 32mm)
09CAB217: RS232C code out unit
64PMT114: Converter cable, RS232C to Digimatic SPC
Specifications
Mitutoyo’s DRO (Digital Readout) system integrates the AT100 Series Linear Scales (AT115/AT102/AT111/ AT112/AT181) with the K Series dedicated digital counters (KL/KLL/KM/KC/KS/KLD Counter), to offer accurate detection and display of axial displacements of machine tools and measuring equipment. The DRO system can be configured to best meet your specific application, such as turning, milling, or grinding. Choose a suitable combination of scale unit and counter. Scale units have diverse measuring length ranges and counters feature remote zero setting, switchable resolution, and multipurpose onetouch macro keys. The DRO system has superior ease-of-use and is reliable, both of which dramatically improve machining accuracy and efficiency. Mitutoyo strongly recommends implementation of the DRO system whatever possible.
With the DRO system, you can:
- Simplify machining procedure.
Procedures such as layout and setup can be completely omitted and simplified.
- Shorten machining time.
In addition to simplifying machining procedure, the operator is free from the drudgery
of measuring dimensions, positioning, and calculating feeding lengths, greatly shortening the time required for machining.
The more complicated the machining procedure, the more effective the DRO system is as a time-saver.
- Reduce errors.
The counter clearly displays the travel and the cutting depth, thereby reducing such errors as misreading of graduation,
miscounting of knob rotation, and miscalculation of dimensions. Dimensions are always consistent and are independent of
operators.
- Eliminate manual calculations.
The counter’s calculation function will display dimensions such as diameters of a rotating workpiece in design drawing notation if
machine feed knob is turned.
- Reduce machining costs.
Streamlined, labor-saving, and defective-free machining drastically reduces machining costs.


